Are you planning a self-catering holiday in the Yorkshire Dales? Learn handy local tips in our guide.
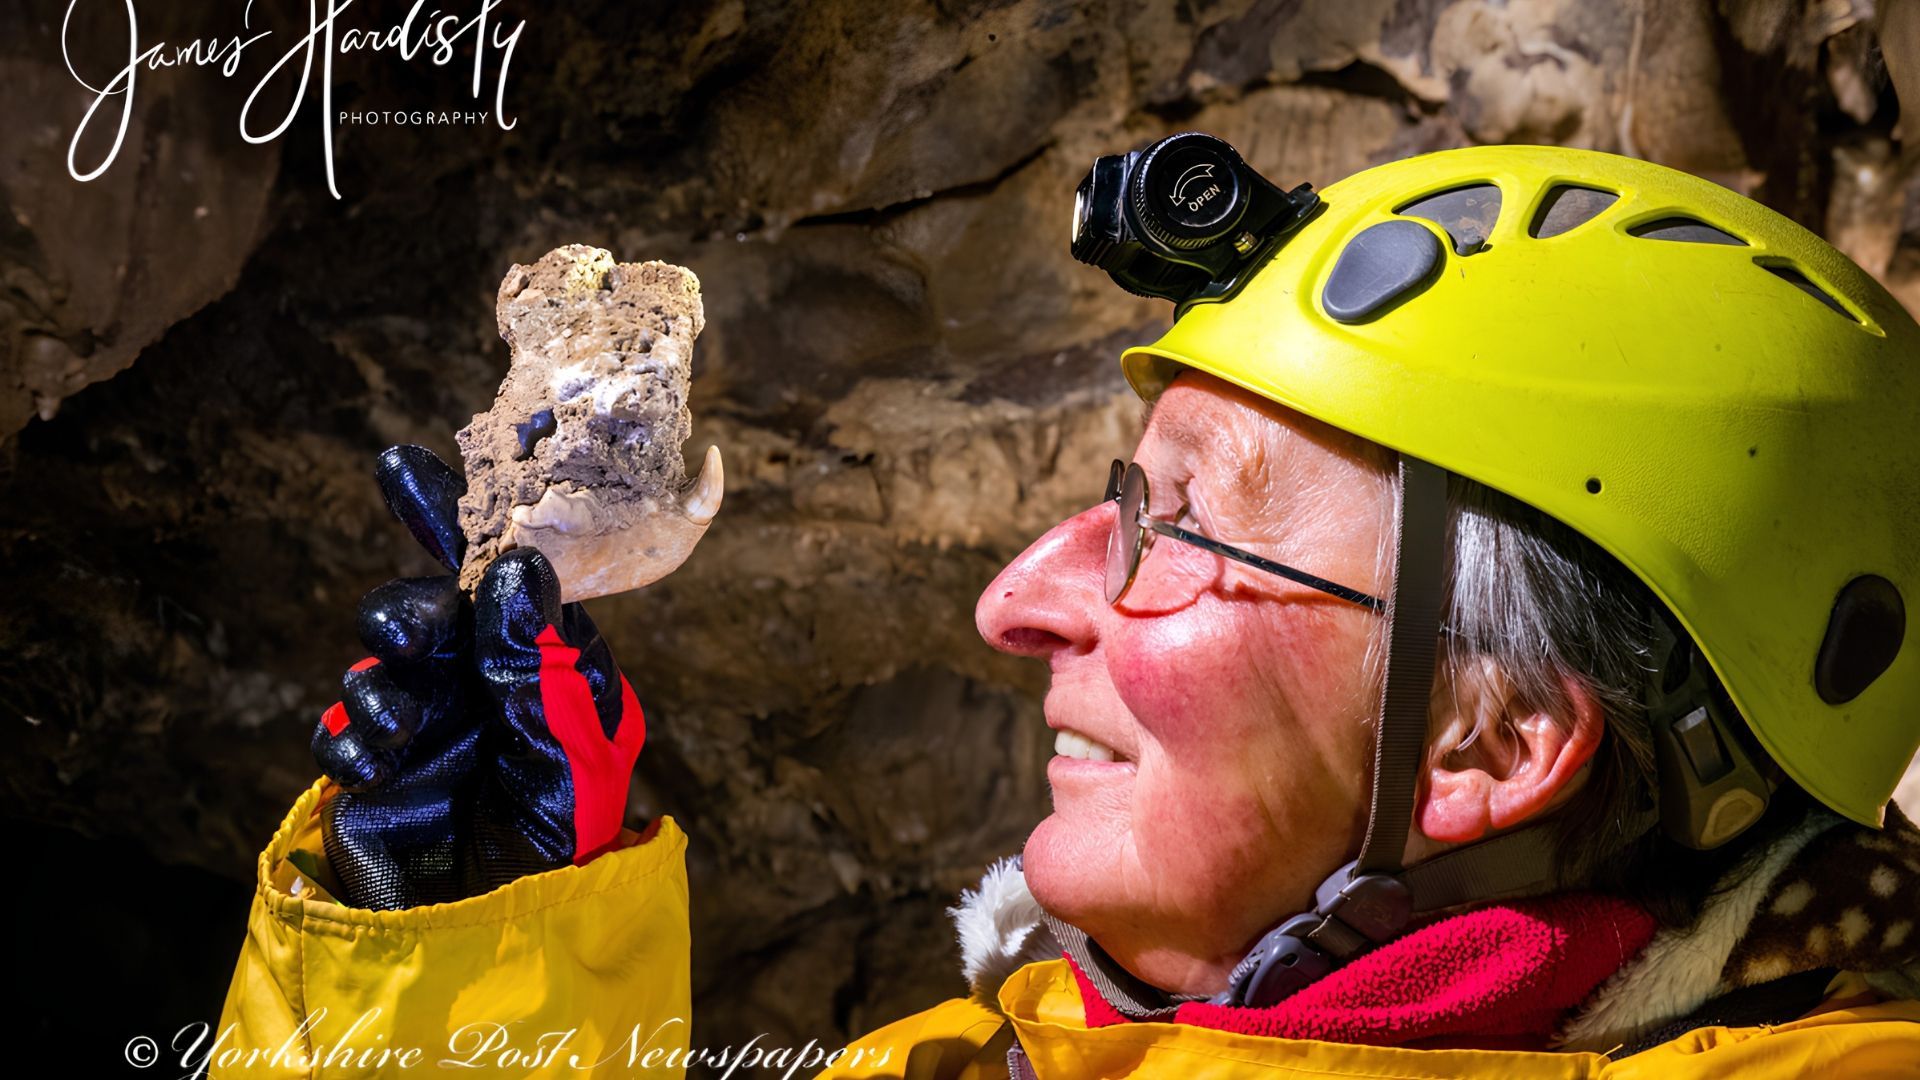
Yorkshire is a fossil hotspot – and Stump Cross Caverns is no exception. Explore some of our recent and not-so-recent fossil finds.
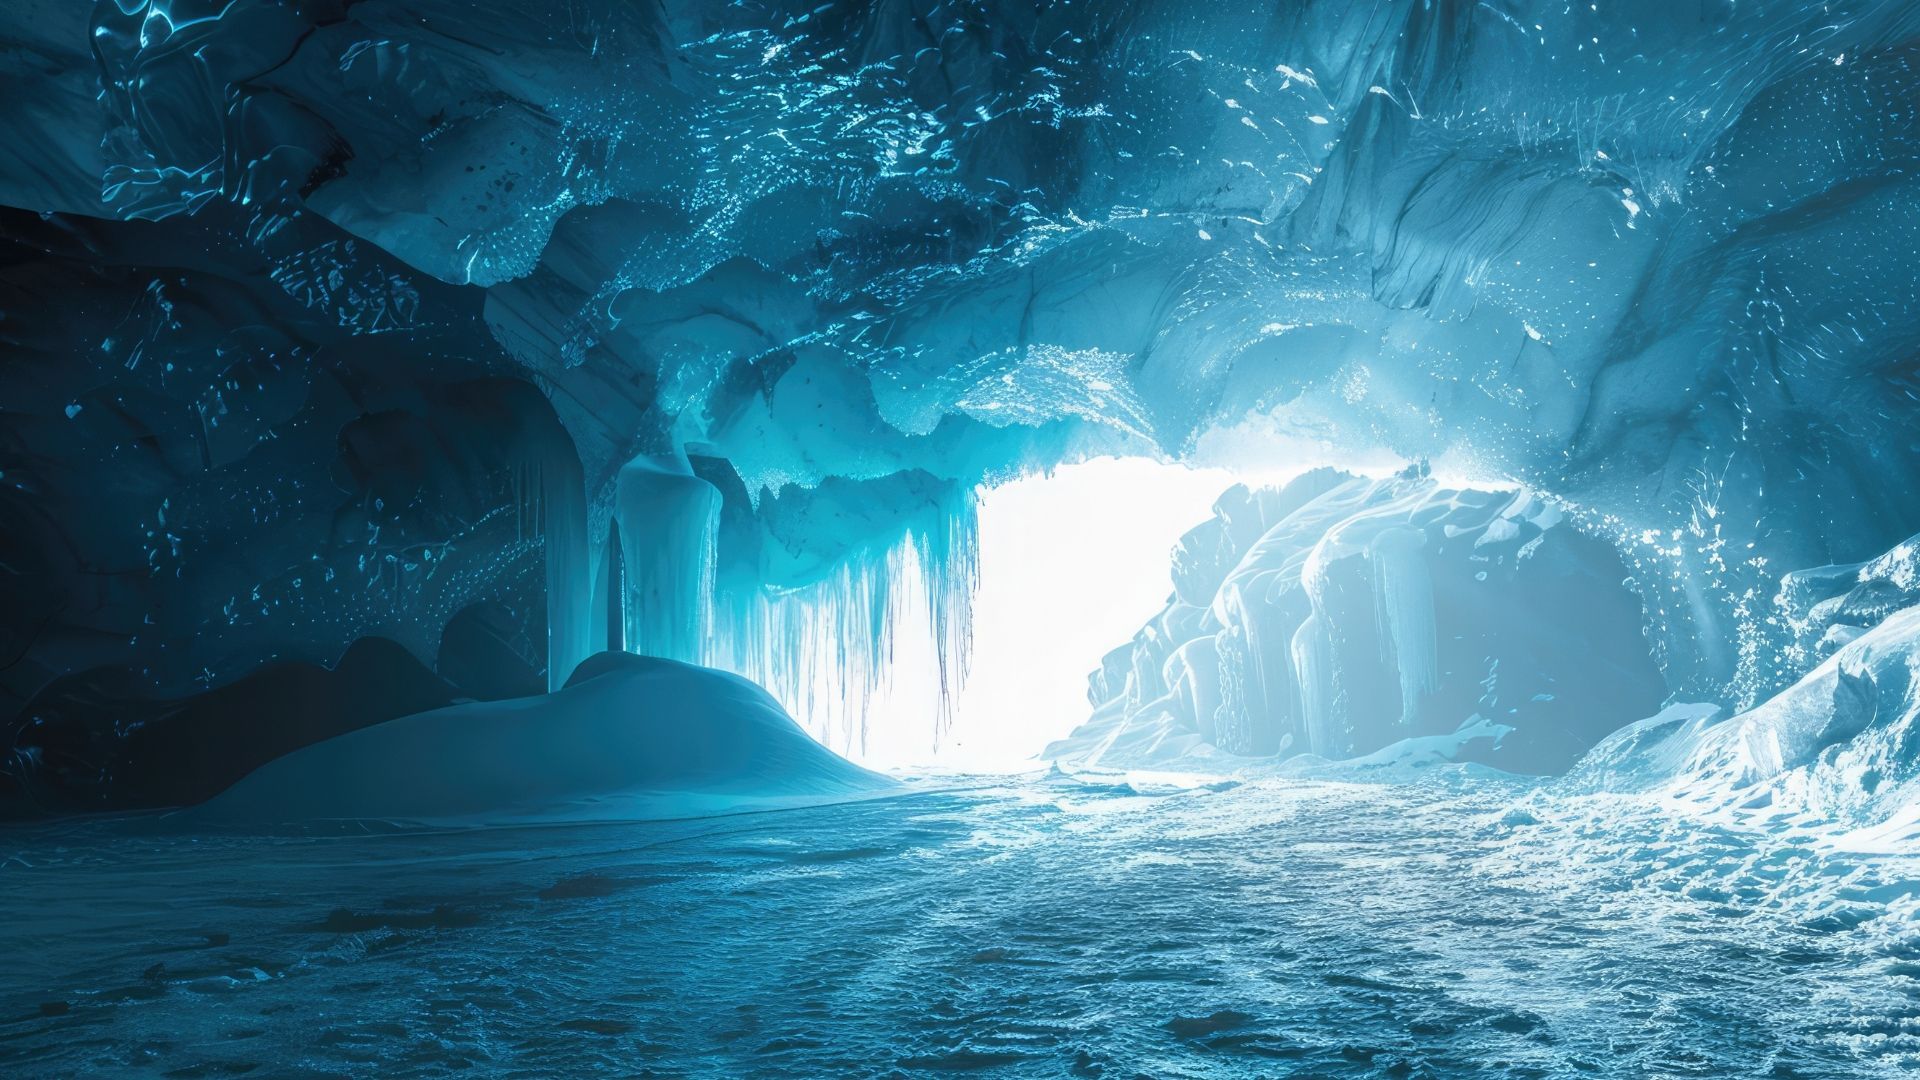
Some caves are cooler than others. A few are downright frosty. Join us as we tour some of the world's coldest ice caves.
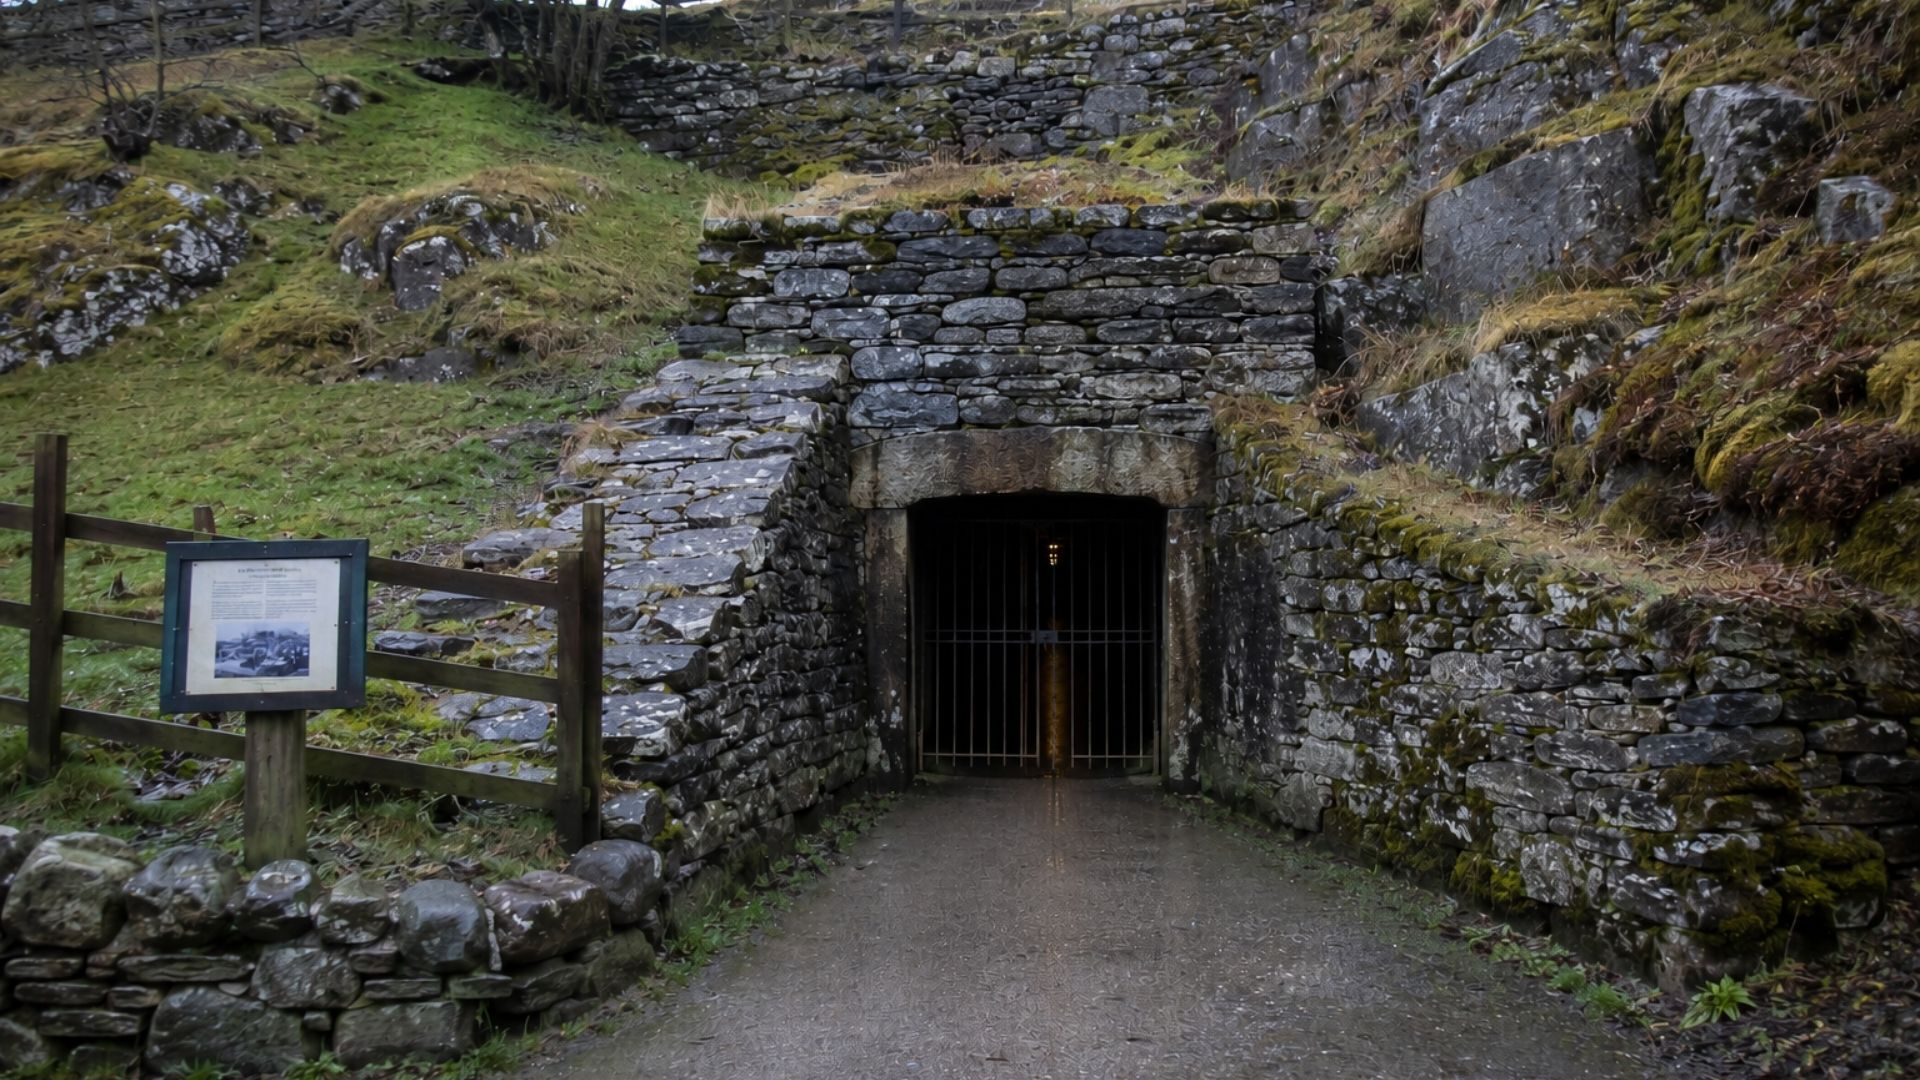
Are you interested in exploring Yorkshire's lead mining history? Here are 7 places you can visit
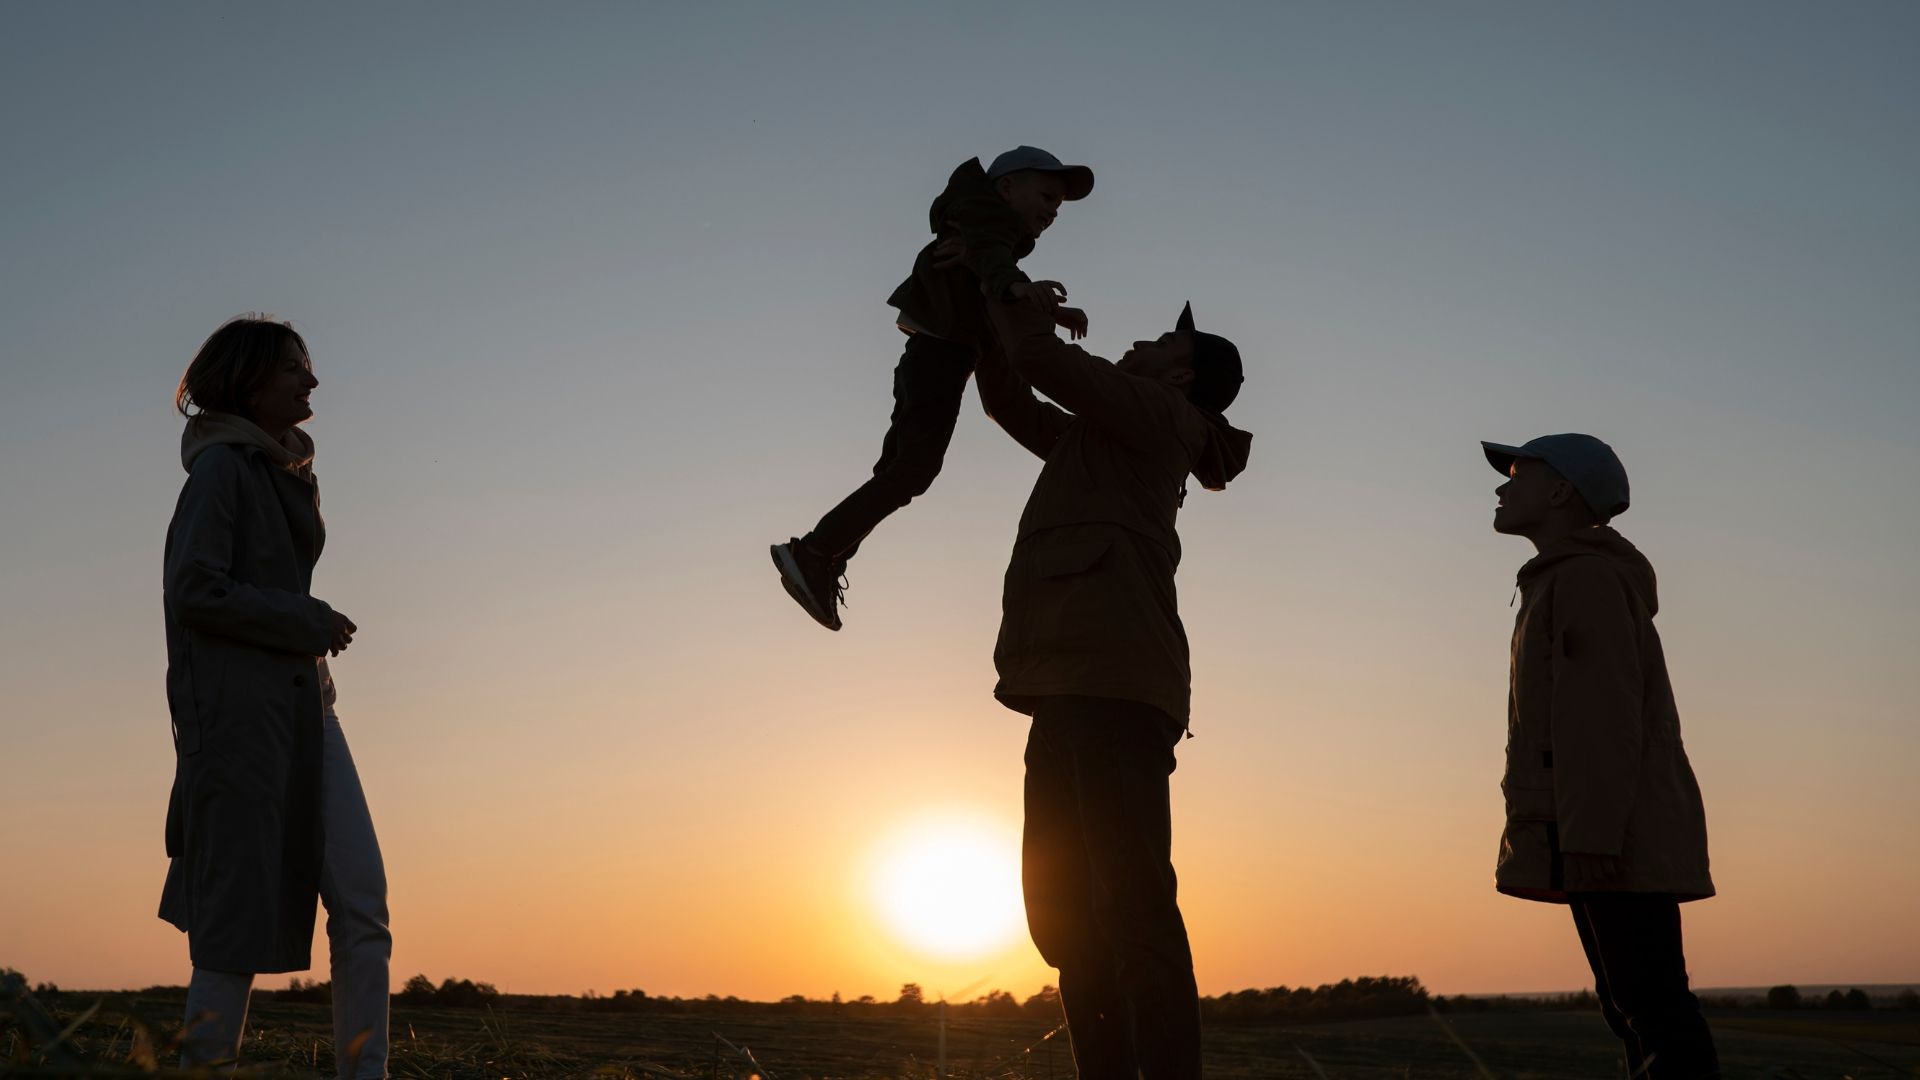
Looking for family-friendly activities in Yorkshire for the 2026 summer holiday? Explore 10 fun options in our guide.

Stone Age people had to live with heat just like we do. So, how did they keep cool? Explore six prehistoric methods.
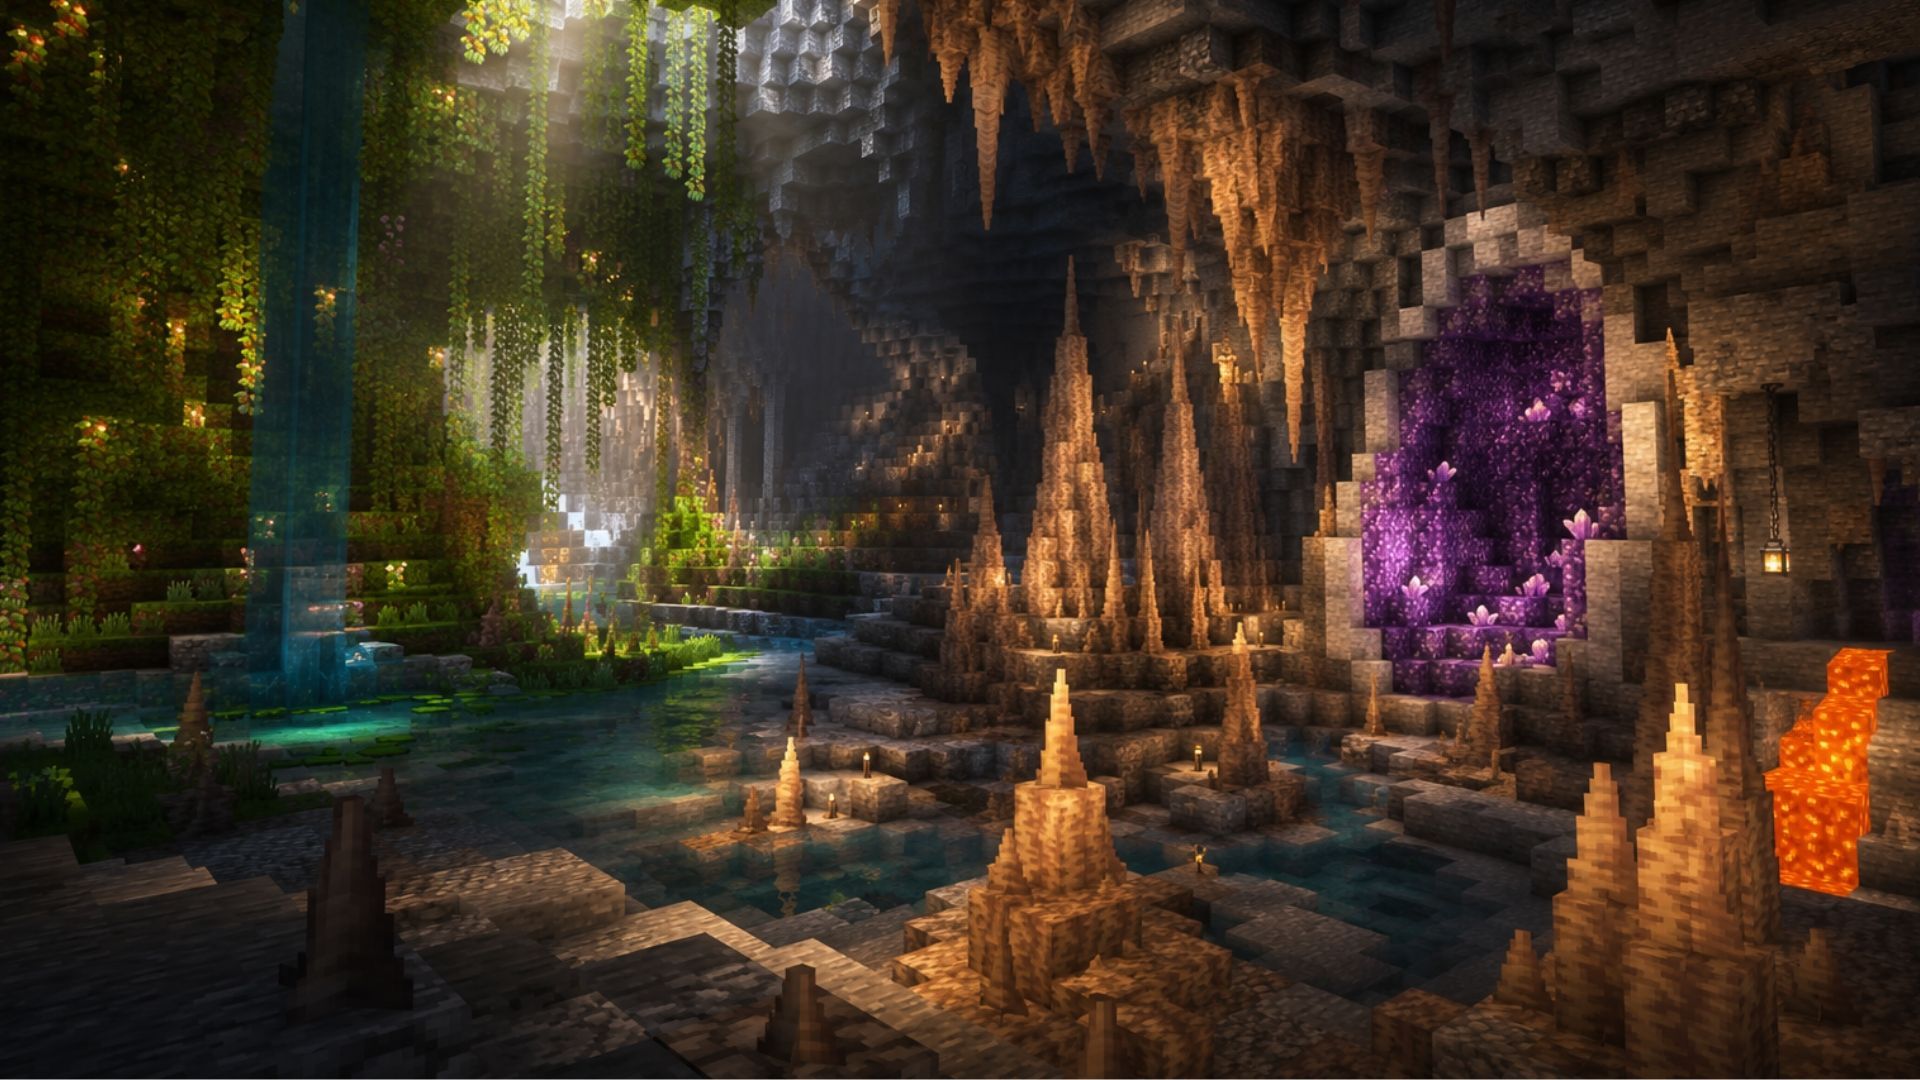
Decipher facts from fiction in the world of Minecraft caves and discover the real wonders of the biome beneath your feet.

Looking for ways to beat the heat this summer? Explore 8 destinations in Yorkshire that are perfect for cooling off.
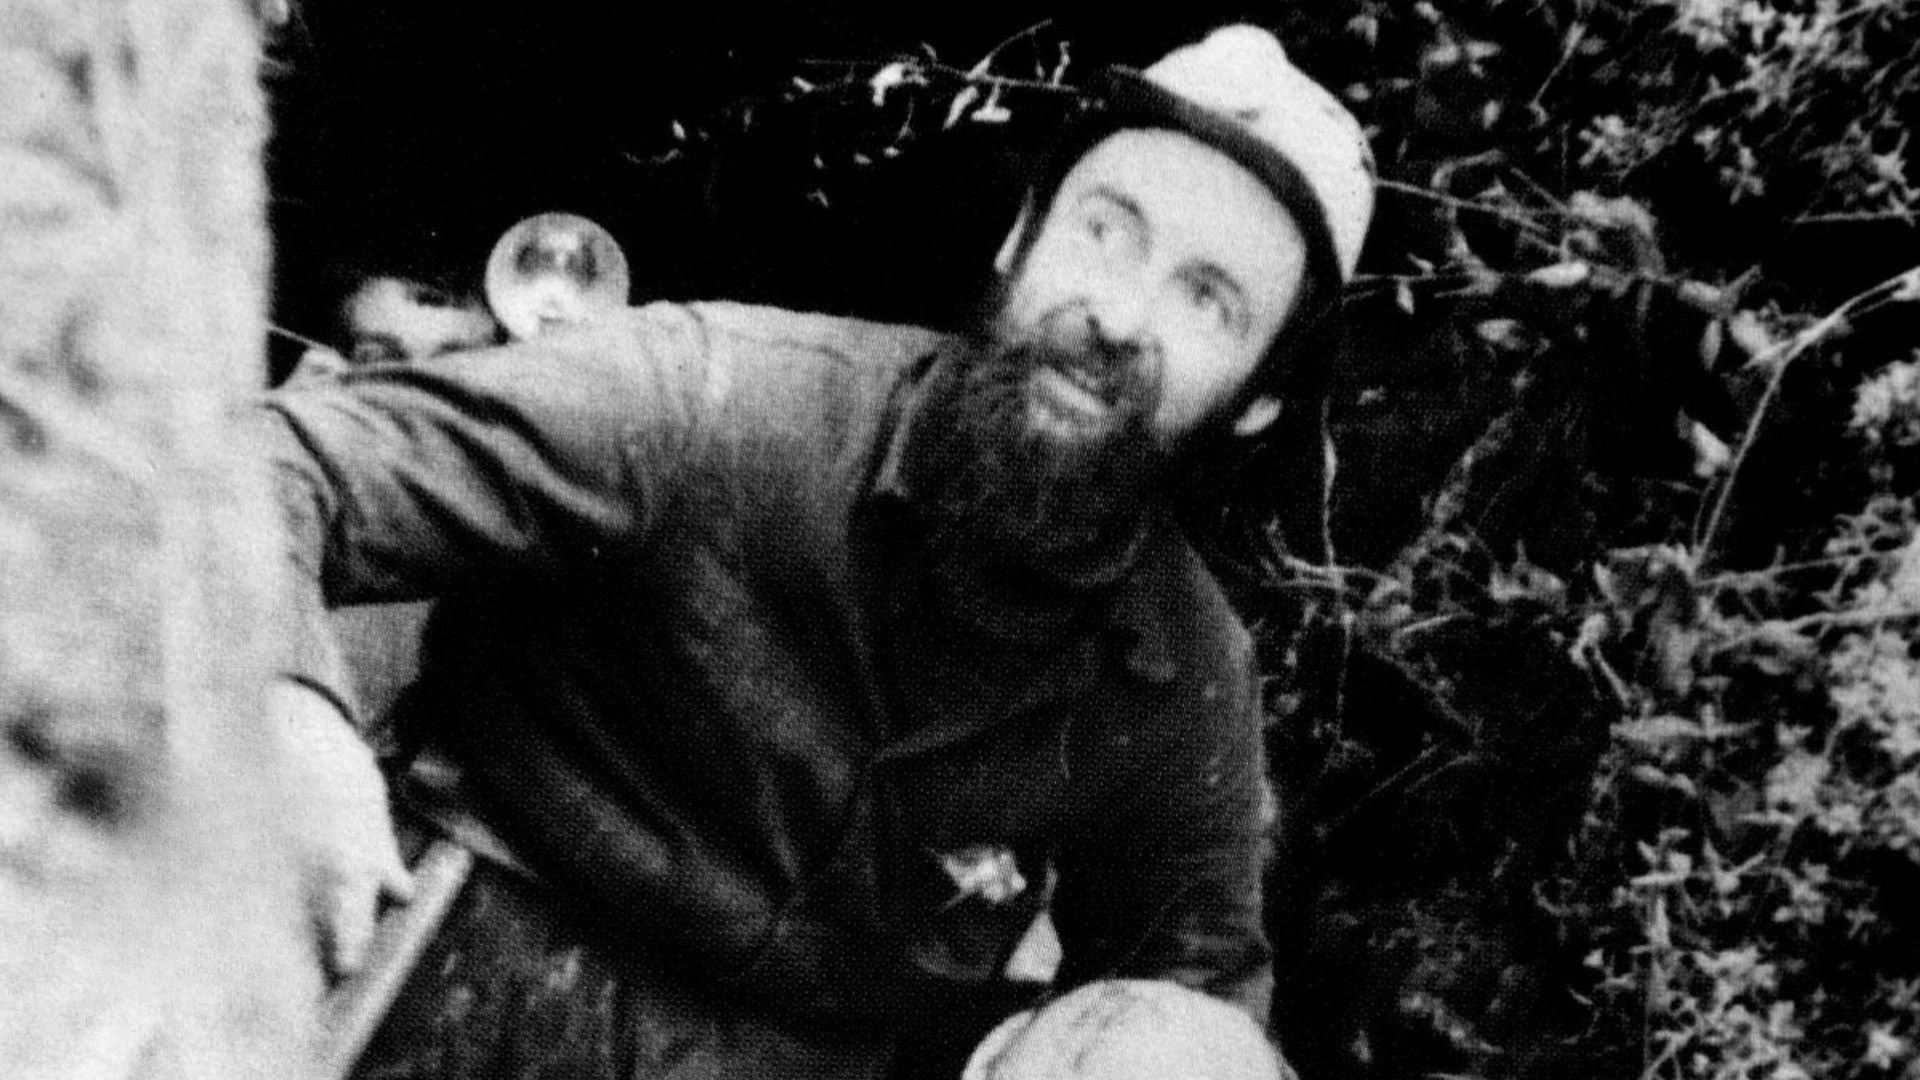
Who was Geoff Workman – and why is he important to cave science? Find out through newspaper cuttings from the early 1960s.