Here at Stump Cross Caverns, we go wild for all things Stone Age. We've even got our very own leopard-print-clad Cavewoman on site to tell you all about what it was like to live in prehistoric times.
Our ancient ancestors were among the first humans to make and use tools – and they used them for everything from building homes to hunting animals. Evidence of these tools can be found all over the world, including right here in the UK.
Let's take a closer look at some of these primitive but oh-so-useful tools. We've suggested a couple that you could try making at home.
Are you ready to create and brandish your very own Stone Age-style tools?
Stone Age hand axe
Hand axes were used for a variety of activities, including butchering and skinning game for food and clothing. They would also have been used for cutting materials such as wood, which our ancestors used to build homes and make primitive furniture.
Originally, the axe head would have been made from a stone such as flint or chert that was sharpened to a point. This stone head attached to a wooden handle using a natural rope made from a plant.
We don't want to make a dangerous axe, so follow the instructions below to create a safe but realistic-looking hand axe for your own Stone Age games.
How to make your own
You will need:
Step one
First, you need to create the base layers of your papier-mâché axe.
Start by cutting out two rectangular handles – we'll stick these together later to form one handle. If you want to make it look authentic, you could make the lines wobbly to mimic the organic shape of a natural stick. We suggest making each piece about 30 centimetres long.
Next, cut out two axe-head shapes. These will fit on either side of the handle. Ours measured about 16 by eight centimetres.
Step two
Now it's time to add some 3D features.
Roll up a few sheets of newspaper into long sausage shapes and glue them to the cardboard handles. Scrunch up some newspaper to give the axe head some bulk too. Glue this down as before.
Step three
Make a mixture of PVA glue and water. Use two parts glue to one part water.
Tear your remaining sheets of newspaper into thin strips. Dip them in the mixture and shape the wet paper around your handle and axe head pieces, smoothing the strips down as you go.
When all the pieces are covered, leave the axe somewhere warm until it's completely dry.
Step four
It's time to assemble all your pieces.
Glue your axe head pieces together with the flat sides together. Then lay the head three to five centimetres from the top of one of the handle pieces. Position it off-centre so the "sharpened" side pokes out a little more.
Now, glue the axe head to one of the flat sides of the handle. Position the other handle piece and glue it down to make a sort of axe-head sandwich.
Leave the axe until it's completely dry and sturdy.
Step five
It's time to decorate your axe.
Paint the handle brown and the axe head grey. You could use some darker brown to add texture to the handle, making it look like real wood.
Step six
When your axe is dry, finish it off with some gardening twine. Wrap this diagonally where the handle and axe head meet.
Bow and arrow
Humans have been using bows and arrows to hunt animals for at least 60,000 years.
We're going to show you how to make a safe but exciting bow and arrow of your own. A piece of advice, though: don't go after any cave lions with this one!
How to make your own
You will need:
Step one
First, you need to prepare your coat hanger. This will form the main frame of your bow.
Ask an adult to saw the hook off the hanger. Discard this. Your adult helper should also smooth down any sharp bits with sandpaper.
Step two
Next, loop together some elastic bands to form a long bowstring. Attach it to the coat hanger using the hooks as anchor points.
You want to make sure it isn't too loose or tight – but don't worry about it too much for now. You can adjust the tightness later.
Step three
Now it's time to make the arrows.
Take your pencils and roll them in Gaffer tape until they're completely covered. Now set them aside and make the arrowheads.
Cut out two arrow shapes from your card for each pencil. To the lead end of the pencil, wrap a four-centimetre-long piece of double-sided sticky tape. Stick your arrowhead to it.
Repeat these steps until you have several arrows.
Step four
Ready, aim, FIRE!
Adjust your bowstring as you see fit and see how far your arrows fly. Just don't expect it to take down a woolly mammoth…
Games to play with your tools
Now you've got your very own Stone Age tools, you can start playing some prehistoric games.
How about going outside and making some stone circles? Collect impressive-looking rocks from your local park or garden and arrange them to make a henge.
If you feel like honing your bow and arrow skills, you could make a target and see how close to the bullseye you can get. Remember: practice makes perfect.
Your hand axe won't be up to cutting much, but it sure is fun pretending.
What would your Stone Age name be? Who are your Stone Age friends? You can really let your imagination run riot.
Invent a Stone Age world of your own or create one with a friend. Maybe you could make up your own prehistoric songs about mammoths or sabre-toothed tigers? Rawr!
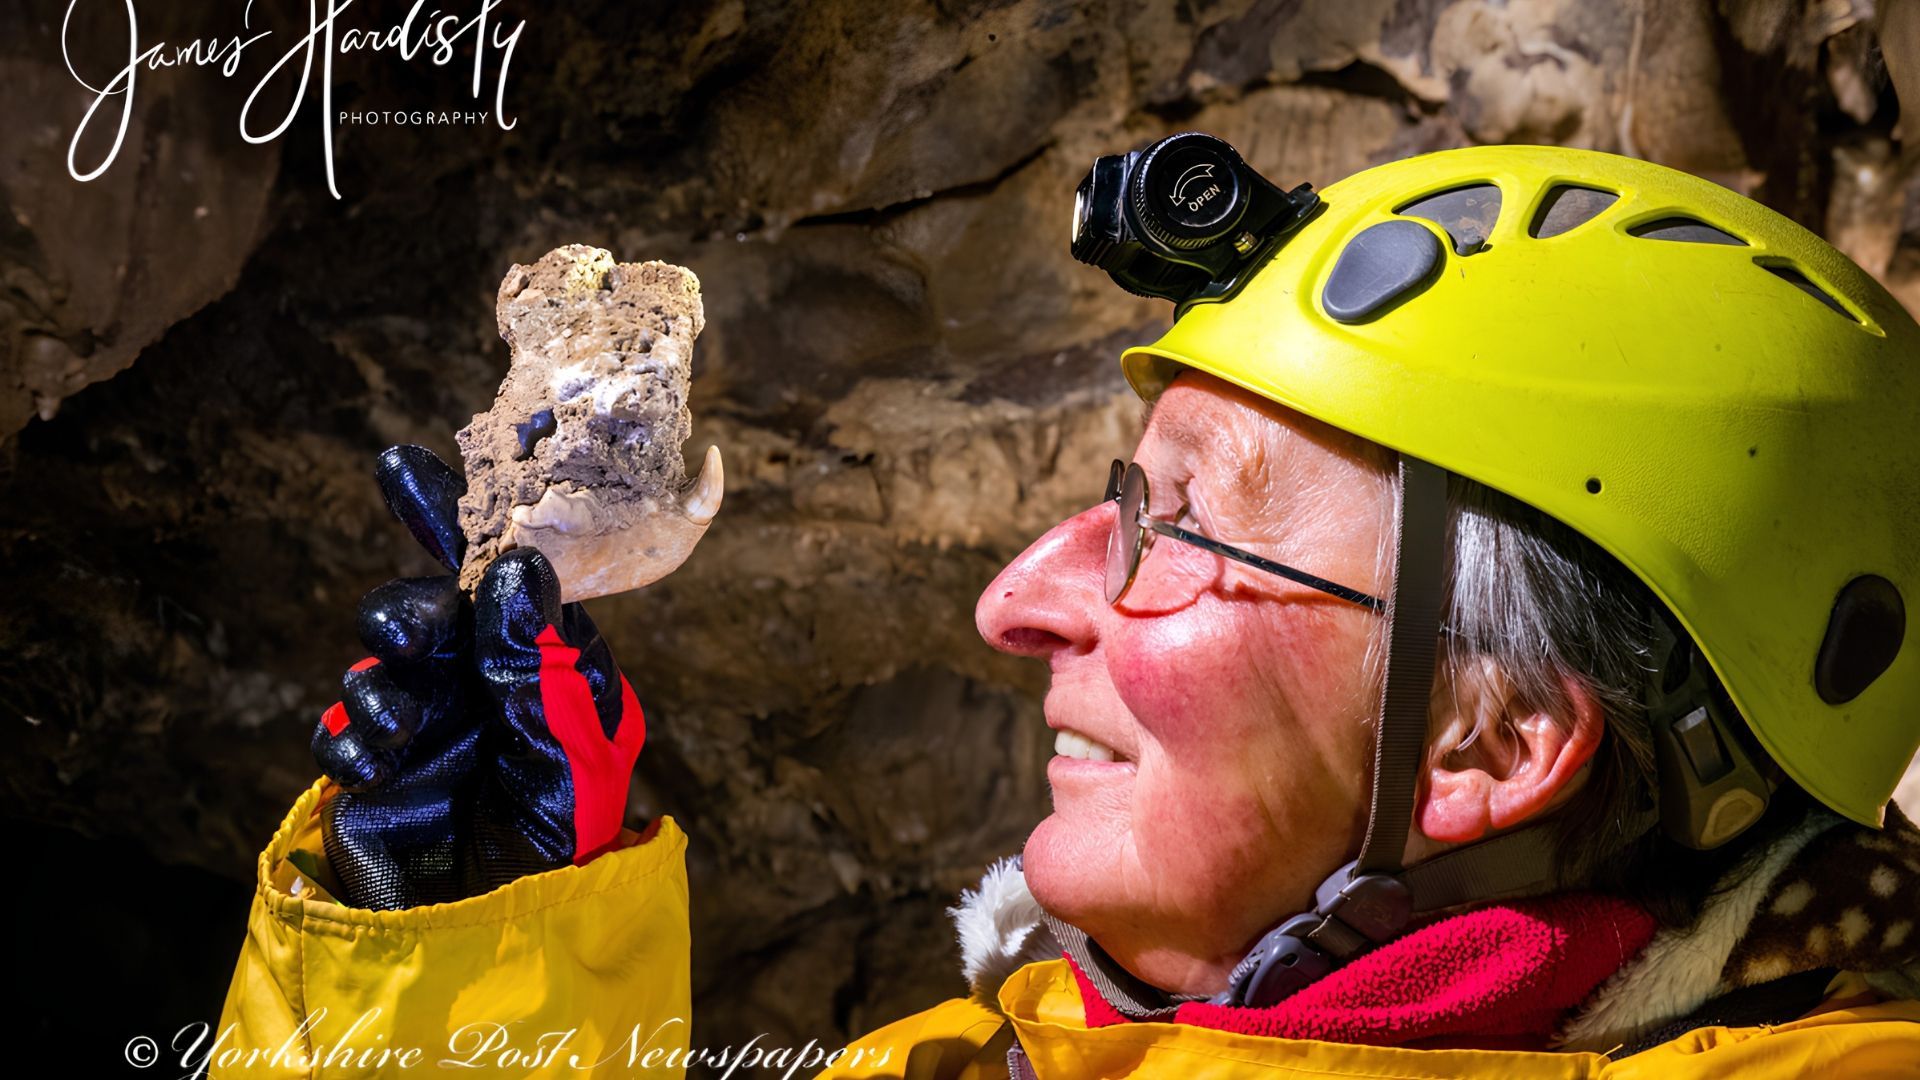
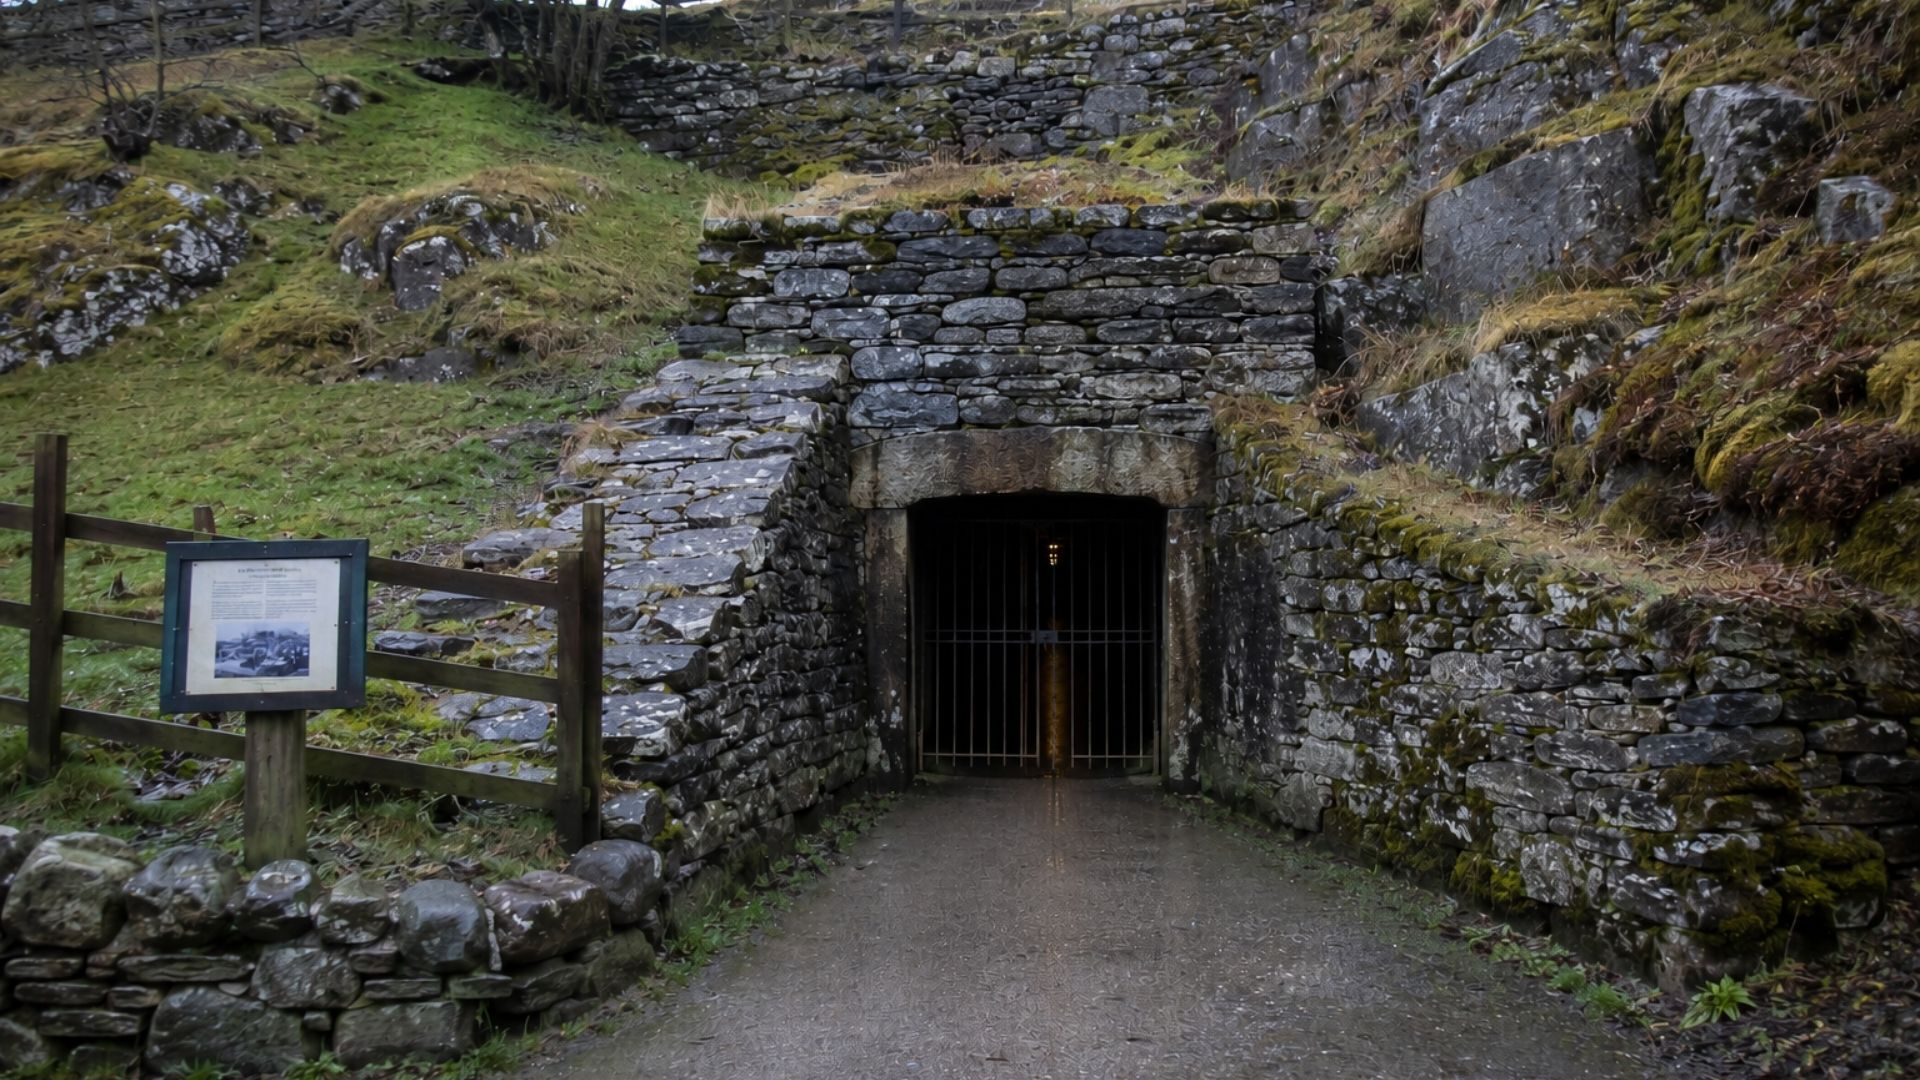
Stump Cross Caverns is a mysterious, magical cave system in the Yorkshire Dales. Discover our
indoor activities for kids in Yorkshire – or
book your tickets and get ready for a fun family adventure
Stump Cross Caverns
Greenhow Hill
Pateley Bridge
Yorkshire
HG3 5JL
All Rights Reserved | Stump Cross Limited
Crafted with creativity and marketing savvy by My Digital Hero
Stump Cross Caverns
Greenhow Hill
Pateley Bridge
Yorkshire
HG3 5JL
01756 752780
enquiries@stumpcrosscaverns.co.uk
01756 752780
enquiries@stumpcrosscaverns.co.uk
All Rights Reserved | Stump Cross Limited
Stump Cross Caverns
Greenhow Hill
Pateley Bridge
Yorkshire
HG3 5JL